Chapter 6 - Dust and Blemishes

KwikGuide Home | PhotoTree Home | Contact

This is the companion web page for Chapter 6 of Photo Restoration KwikGuide. These pages are intended to support the book reader with example file downloads and tips, however they can be viewed by anyone. For information about purchasing the book see the Overview Page.


Tintype with Dust
Files - Download the example files, save to disk, and then open in Photoshop Elements. The Zip file contains a Photoshop Elements image.
JPG File: 1435x2000 (700K)
ZIP File: 1435x2000 (6MB)

Removing Dust and Spots

Practice removing dust and speckles with this image. Use the Dust and Scratches filter found in the main menu under Filters | Noise.

Follow the book instructions and change the Radius and Threshold settings to see different effects.


Dusty Man
JPG File: 900x1326 (336K)
ZIP File: 900x1326 (14MB)

Isolating Layers

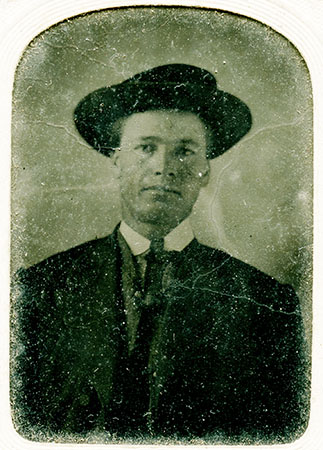
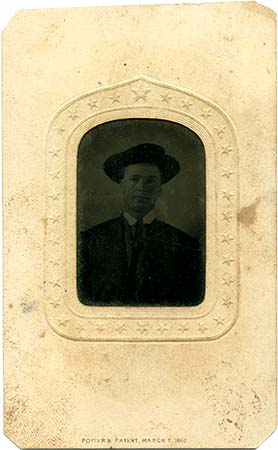
This is the original image, it needed significant color adjustment. But the mat sleeve was mostly ok, so we had to isolate just the tintype portion.

The Elements file has several layers. 1) Just the tintype image, 2) just the frame, 3) and three different adjustment layers. The tintype was cut out using the Polygonal Lasso tool and placed on a separate layer.

Can you figure out why there are two Brightness/Contrast layers? We reached the maximum amount of brightness in one before it was where we wanted to be. So we just added a second one.


PhotoTree Home | KwikGuide Home | Contact